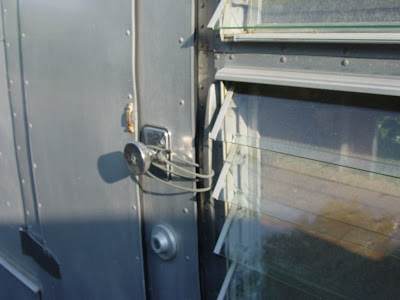
 Today I finished the street side belly pan curves and still had some daylight, so I decided to get working on the furnace hole cover. Since I'm not going to be re-installing a furnace, I needed to cover the hole where the furnace vent was. I used the original trim pieces and a piece of .040 aluminum to plug the hole. To this I will mounting the original furnace chimney for an original look. I'm not one who goes for non-functional decoration (you won't find spinner hub caps or under body neon lighting on any of my cars), but I think this is a better option than just riveting a new piece of sheet aluminum over the hole and hoping it's not very noticable.
I would have had this piece all riveted together and the furnace chimney mounted today, but I'm all out of Vulkem, that magic caulk which will seal the cover to the hole and still be pliable and working in another 50 years when the next guy takes my trailer apart. I could use a few more kleckos, too. Mine are all being used right now. Hey, Father's Day is coming up....maybe I should start leaving hints around the house.


 Well, after taking the kids fishing this morning, then Laurie and I going to watch our daughter's dance recital this afternoon, I was finally able to get out and do some work on the trailer after dinner. I applied the final coats of wood preservative to the sub-floor plywood. It'll be dry tomorrow, and ready to lay down inside the trailer the next time I have a chance to work on it.
 I chased all the elevator bolt holes with a 1/4 inch bit, and it's a good thing I did. All of the paint and rust converter I applied made them just a hair too small. It would have been a pain to have to do that from below. There will be enough crawling around on my back in the dirt in the next few days.

 Since I couldn't do any welding today, I took my daughter to Lowes and bought some 19/32 plywood for the subfloor. I cut it to size while my girl slept, and she woke up disappointed that she wasn't able to "help" me use the power saws. Maybe next time. By the way, 19/32 is the exact thickness of the plywood that was in the Airstream originally. When I did the back half of the trailer, I was at first concerned that it was too thin. Once the shell, frame, and floor were all riveted back together everything was as solid as a rock. I understand that Airstream used different thicknesses through the years, but 1961 Ambassadors used 19/32. Tonight I'm going to treat the plywood with Thompsons Water Seal to help ward off any future rot.


